How To Paint A Fence

Tips and Techniques for Painting Your Fence
To keep your fence looking good and lasting longer, painting is key. It helps protect it from the weather and keeps costs down. Whether you’re worried about wood damage or just want to freshen up your yard, painting your fence can make a big difference. It’s an easy way to keep your property looking its best and save money on repairs in the long run.
Painting your fence protects it from the weather. It acts as a barrier against rain, sun, and wind, helping to prevent the wood from rotting, warping, and cracking. This means your fence will last longer and stay in better shape. It also helps keep pests like termites away, which can damage the wood.
Regularly painting your fence can save you money over time. It reduces the need for frequent repairs and replacements. A fresh coat of paint can instantly improve the appearance of your fence, making it a nice feature in your yard.
The painting process starts with preparation. You need to clean the fence thoroughly to remove dirt, mildew, and old paint. Sanding any rough areas will ensure a smooth surface. Next, apply a primer to seal the wood and provide a good base for the paint. This step is important for the paint to last longer. Then, use high-quality exterior paint and apply at least two coats for even coverage and better protection. Once the paint is dry, check the fence for any missed spots and touch up as needed. Regular maintenance checks will help keep your fence looking great.
Choosing the Right Paint
Choosing the right paint for your fence is important for how it looks and how long it lasts in different weather. Different types of paint work better on different types of fences. Picking the right color also makes a big difference in how your whole yard looks.
Types of Paint
When selecting paint for different types of fences, it’s essential to choose the right type for durability and aesthetic appeal.
Oil-based paint is excellent for wooden fences as it provides a smooth, glossy finish and withstands harsh weather conditions, though it takes longer to dry and has a strong odor.
Latex paint is water-based, easy to apply, dries quickly, and is suitable for both wooden and metal fences. It offers a flexible, durable finish that resists cracking and peeling.
Acrylic paint is another popular choice due to its durability and resistance to weather conditions. It is water-based, dries quickly, and is ideal for wood, vinyl, and metal fences, providing excellent adhesion and color retention.
Stain is a great option for wooden fences as it penetrates the wood, enhancing its natural beauty while providing protection against the elements. Stains come in various opacity levels, from transparent to solid, allowing the wood grain to show through or providing a more painted look.
Color Selection
Choosing the right color for your fence is crucial for creating a cohesive and appealing look. It’s important to match the paint color with the color scheme of your home to enhance the overall aesthetic appeal of your property. Consider the surroundings of your fence; natural colors like greens, browns, and grays blend well with landscaping and natural settings, creating a harmonious look.
Your personal taste and style play a significant role in color selection. Bold colors can make a statement and add a unique touch to your fence, while neutral tones offer a classic and timeless appearance. Additionally, consider the climate and sun exposure in your area. Lighter colors reflect heat and are better suited for sunny locations, while darker colors can absorb heat and may fade more quickly in direct sunlight.
Lastly, think about the maintenance involved with different colors. Darker colors may show dirt and wear more easily, requiring more frequent touch-ups, while lighter colors can hide imperfections better.
Tools and Materials Needed
Whether you’re refreshing the look of your wooden fence or adding a protective coat to a metal one, having these items on hand will help you achieve professional results while maintaining the integrity of your fence for years to come.
Tools
- Paintbrushes: Various sizes for different areas of the fence.
- Paint Rollers: For larger sections of the fence.
- Paint Sprayer: Optional but efficient for large fences.
- Paint Tray: For holding paint while working.
- Drop Cloths or Tarps: To protect the ground from paint spills.
- Painter’s Tape: For masking off areas you don’t want to paint.
- Sandpaper or Sanding Block: To smooth rough spots on the fence.
- Wire Brush: For cleaning and removing rust from metal fences.
- Paint Stirrer or Mixer: To mix paint thoroughly.
- Paint Scraper: For removing old paint or debris.
Materials
- Paint: Choose appropriate type (oil-based, latex, acrylic) for your fence material.
- Primer: If needed, especially for bare wood or metal surfaces.
- Stain (Optional): Instead of paint, for enhancing natural wood grain.
- Wood Preservative (Optional): For added protection against weather and insects.
- Paint Thinner/Cleaner: For cleaning tools and spills (if using oil-based paint).
- Paint Additives (Optional): For improving durability or texture of the paint.
- Safety Equipment: Gloves, goggles, and a mask for protection.
Preparation Steps
Before you start painting your fence, it’s important to get it ready. This involves a few essential steps to make sure the paint sticks well and looks good. Here’s how to prepare your fence and the area around it for painting:
Check the Weather
Start by checking the weather forecast. Painting is best done on a dry day with moderate temperatures. Avoid painting in extreme heat or rain, as these conditions can affect paint application and drying, potentially compromising the quality of the finish.
Clean the Fence
Begin by thoroughly cleaning the fence to remove dirt, mildew, and debris. Use a broom or brush to clear away leaves and loose dirt. For a deeper clean, use a pressure washer or hose with a high-pressure nozzle. If there’s stubborn dirt or mildew, consider using a mild detergent or specialized fence cleaner along with a scrub brush to ensure thorough cleaning. Once cleaned, allow the fence to dry completely before proceeding. This drying time is crucial for ensuring proper adhesion of the paint.
Sand and Repair
Inspect the fence for any signs of damage such as loose boards, nails, or screws. Tighten or replace them as necessary to ensure the fence is structurally sound. Next, use sandpaper or a sanding block to smooth out rough spots or uneven areas on the surface of the fence. This step not only improves the appearance but also helps the paint adhere better. If there are cracks, holes, or gouges in the wood, fill them with a suitable wood filler or repair compound. Allow the filler to dry completely before sanding it smooth to create a seamless surface for painting.
Protect Surrounding Areas
Before you start painting, take precautions to protect nearby plants, grass, and other surfaces from paint splatter. Use drop cloths, plastic sheeting, or tarps to cover plants and the ground beneath the fence. Additionally, use painter’s tape to mask off any fixtures, hinges, or adjacent surfaces that you do not want to paint. This includes posts, gates, or neighboring structures that could accidentally get splattered with paint during the application process.
Painting Steps
Before painting your fence, applying primer is crucial for ensuring the paint adheres well and the finish lasts longer. Properly priming the fence prepares the surface, seals it, and enhances the paint’s durability. Here’s a step-by-step guide on how to apply primer effectively:
Apply Primer
Begin by setting up your work area with all the necessary tools and materials: primer, paintbrushes, rollers or sprayers, and protective gear.
Start with the Top Rail
Start applying primer to the top rail of the fence. This methodical approach helps prevent drips and ensures even coverage from the top down. Use a paintbrush for this part to control the application and reach into corners and edges where a roller might not reach easily.
Use a Paintbrush for Control
For detailed areas like corners, edges, and any intricate parts of the fence, continue using a paintbrush. A paintbrush allows for precise application, ensuring that every part of the fence gets properly primed. Apply primer evenly, using smooth strokes to avoid visible brush marks.
Use a Roller or Sprayer for Large Areas
Once the top rail and detailed areas are primed, switch to a paint roller or sprayer for larger sections of the fence. Rollers are efficient for covering large surfaces quickly and evenly, while sprayers provide a smooth, professional finish. Work in manageable sections, overlapping each stroke slightly to ensure uniform coverage.
Apply Multiple Coats
Apply a thin, even coat of primer across the entire fence surface. Allow the primer to dry completely according to the manufacturer’s instructions before applying additional coats. Depending on the type of primer and the condition of your fence, you may need to apply two or more coats for optimal coverage and adhesion.
Post-Painting Care
Once you’ve painted your fence, taking care of it properly will help maintain its appearance and durability over time. Here are essential tips for caring for your freshly painted fence:
Allow Proper Drying Time
After painting your fence, allow ample time for the paint to dry thoroughly before exposing it to any elements. Follow the manufacturer’s instructions regarding drying times, which typically range from a few hours to a full day depending on the type of paint and weather conditions. Avoid touching or leaning objects against the fence during this period to prevent smudges or damage to the paint.
Regular Maintenance
- Inspect Regularly: Periodically inspect your painted fence for any signs of wear, peeling, or damage. Catching and addressing issues early can prevent more extensive damage and prolong the life of the paint job.
- Clean as Needed: Keep your fence clean by regularly washing it with mild soap and water to remove dirt, dust, and debris. Use a soft brush or cloth to avoid scratching the paint. For stubborn stains, use a gentle cleaner recommended for painted surfaces.
- Touch Up as Necessary: Over time, your painted fence may experience minor wear or damage. Keep some extra paint handy for touch-ups. Before applying touch-up paint, clean the area thoroughly, sand lightly if needed, and apply the paint with a brush or roller for a seamless finish.
- Protect from Elements: Consider adding a protective coat or sealant over the paint to enhance durability and weather resistance. This extra layer can help maintain the color and protect against UV rays, moisture, and other environmental factors.
- Trim Vegetation: Keep plants, shrubs, and vines trimmed away from the fence to prevent them from rubbing against or damaging the paint. Overgrown vegetation can trap moisture against the fence, leading to premature paint deterioration.
Get An Instant Fencing Quote
Ready to enhance your property with a beautifully maintained fence? Get started today by requesting a quote from Fencing Quotes Online. Visit their website now to discover customized solutions that fit your needs and budget, ensuring your fence remains strong and attractive for years to come.
Choose Fence Style
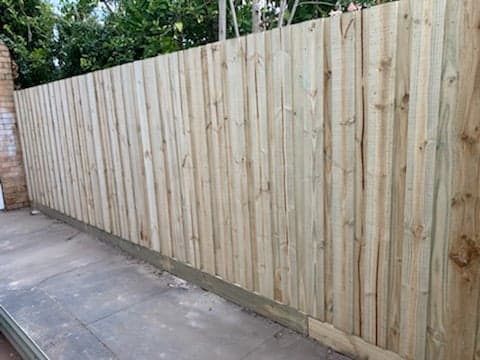
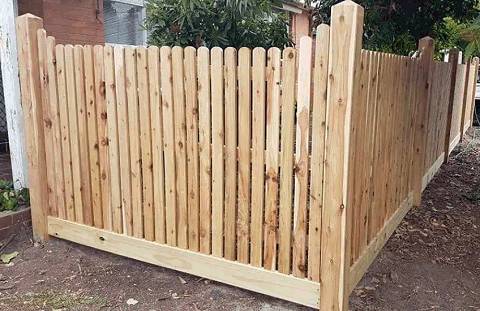
Timber
Colorbond

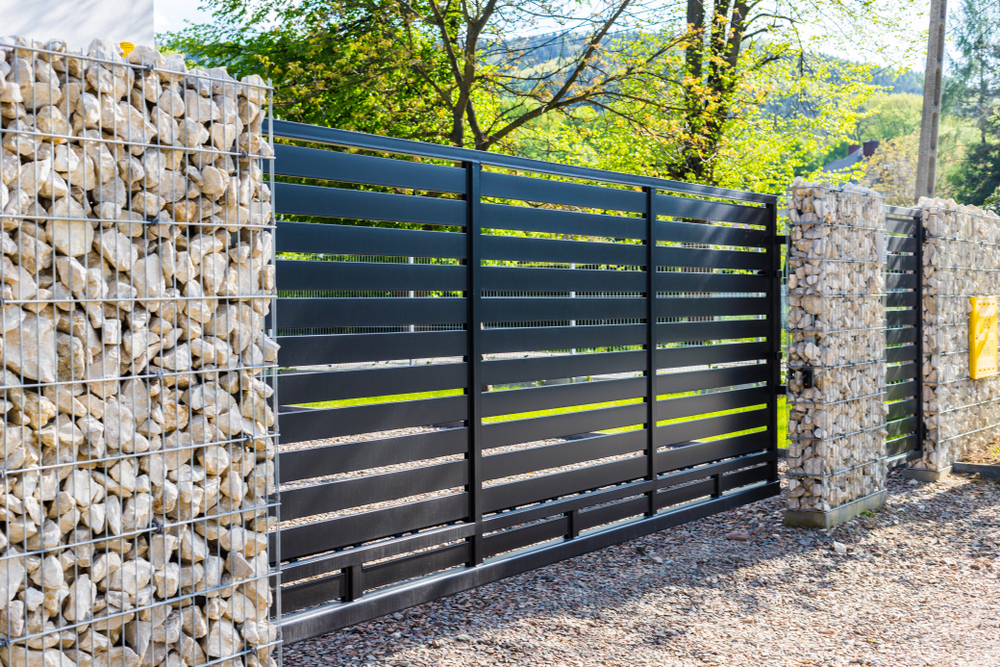
Feature Fencing
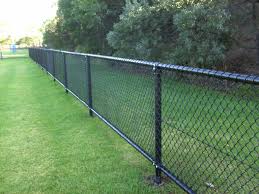
Chain-Wire
Aluminum Fencing
PVC / VINYL

Security Fencing
Chain Link
Pool Fencing
Steel Fencing
Choose Your Fence Sub-style
STANDARD TIMBER PALING FENCE
TIMBER PALING FENCE WITH CAPPING
TIMBER PALING FENCE WITH CAPPING AND EXPOSED POSTS

TIMBER PALING FENCE WITH CAPPING AND EXPOSED POSTS(UPGRADED POSTS)
COLORBOND FENCE WITH LATTICE
COLORBOND FENCE WITH LATTICE AND SLEEPER
STANDARD COLORBOND FENCE
STANDARD COLORBOND FENCE WITH TIMBER SLEEPER

FLAT TOP PICKET FENCE
FLAT TOP PICKET FENCE w/ CAPPING
ROUND TOP PICKET FENCE
WINDSOR TOP PICKET FENCE

Mini Colorbond Orb
Chainwire Galvanised Top and Bottom Rail
Double top rail with ring
PVC Privacy Boundary Fence
Security Fence Barbed Fence
Std Chain Link Fencing
Choose Your Fence Height
1.0m
1.2m
1.5m
1.8m

1.95m
2.1m
2.3m
2.5m
1.0m
1.2m
1.5m
1.8m
1.95m
2.1m
2.3m
2.5m
1.0m
1.2m
1.5m
1.8m
1.95m
2.1m
2.3m
2.5m
1.0m
1.2m
1.5m
1.8m
1.95m
2.1m
1.0m
1.2m
1.5m
1.8m
2.1m
1.0m
1.2m
1.5m
1.8m
2.3m
2.5m
1.0m
1.2m
1.5m
1.8m
2.1m
2.3m
1.0m
1.2m
1.5m
2.0m
1.0m
1.2m
1.5m
1.8m
1.0m
1.2m
1.5m
1.8m
1.0m
1.2m
1.5m
1.8m
1.0m
1.2m
1.5m
1.8m
1.0m
1.2m
1.5m
1.8m
2.0m
2.3
1.0m
1.95m
2.0m
1.95m
1.95m
WHAT GATE WOULD YOU LIKE?
Single Flat Top Picket Gate

Mini Orb Single Gate
Aluminium flat top gate

PVC Semi Privacy with lattice gate

Single Timber Paling Gate

Single Colorbond Gate

Single Timber Gate w Capping
Single Merbau Slatted Gate

Single Windsor Picket Gate

Single Flat Top Picket Gate

WHAT GATE WOULD YOU LIKE?
Double Timber Paling Gate

Double Colorbond Gate

Double Timber Gate w Capping

Double Merbau Slatted Gate

Double Windsor Picket Gate

Double Flat Top Picket Gate

Contact
I would like to receive additional quotes from other companies

Frequently Asked Questions (FAQ)
Painting protects your fence from weather damage and pests, enhancing its appearance and lifespan.
Use oil-based paint for wood, latex for wood and metal, and acrylic for wood, vinyl, and metal fences.
Match the fence color with your home and surroundings, considering climate and sun exposure for long-lasting appeal.
You’ll need paintbrushes, rollers, a paint sprayer (optional), paint tray, drop cloths, painter’s tape, sandpaper, and primer.
Clean the fence thoroughly, sand rough spots, repair damage, and protect surrounding areas with drop cloths and painter’s tape.
Find more tips!
Discover fencing inspiration with our quotes collection
Recent Post
- Privacy Fence Ideas
- How To Clean Glass Pool Fence
- Do You Need A Fence Around A Spa
- Do Above Ground Pools Need A Fence
- Do You Need Neighbours Permission For Fence Extension
- Do It Yourself Fence Ideas
- How To Paint A Fence
- How Much Does A Fence Cost
- How much does timber fencing cost Hobart
- Pool Fencing
Post A Comment